后端
后端主要实现数据库数据的请求功能,这里是增加和查询。
三个接口
手工并指导AI生成
==》
接口测试
curl -X POST -H "Content-Type: application/json" -d "{\"username\":\"testuser\",\"password\":\"123456\"}" https://josznftwiqbd.sealoshzh.site/api/register
curl -X POST -H "Content-Type: application/json" -d "{\"username\":\"testuser\",\"password\":\"123456\"}" https://josznftwiqbd.sealoshzh.site/api/login
curl -X GET -H "Content-Type: application/json" https://josznftwiqbd.sealoshzh.site/api/user/{user_id}
//此处的 userid 为登录后返回的 id
C:\Users\asus>curl -X GET -H “Content-Type: application/json” https://josznftwiqbd.sealoshzh.site/api/user/67f90d6b9cd535dc336207f8
{“_id”:”67f90d6b9cd535dc336207f8”,”username”:”testuser”,”createdAt”:”2025-04-11T12:39:07.552Z”,”__v”:0}
1
2
3
4
5
6
7
8
9
10
11
12
13
14
15
16
17
18
19
20
21
22
23
24
25
26
27
28
29
30
31
32
33
34
35
36
37
38
39
40
41
42
43
44
45
46
47
48
49
50
51
52
53
54
55
|
# 前端

提示词:

这是一个 vue 项目,已经初始化完毕,请帮助我生成一个注册登录主页,使用 vue router,以当前目录为根目录,需要执行命令时请提示我并告诉我为什么这样做。

下面是相关接口信息

我将为前端提供详细的接口文档,包括每个接口的地址、方法、参数和返回值:

## API 接口文档

### 基础信息

- 基础URL:`https://josznftwiqbd.sealoshzh.site`
- 所有请求头都需要设置:`Content-Type: application/json`

### 1. 用户注册接口

```javascript
/**
 * 用户注册
 * @url POST /api/register
 * @description 创建新用户账号
 */

// 请求参数
{
  username: string,  // 用户名
  password: string   // 密码
}

// 成功响应 (200)
{
  message: string    // "注册成功"
}

// 错误响应 (400)
{
  message: string    // "用户名已存在"
}

// 示例代码
const response = await fetch('https://josznftwiqbd.sealoshzh.site/api/register', {
  method: 'POST',
  headers: {
    'Content-Type': 'application/json'
  },
  body: JSON.stringify({
    username: 'testuser',
    password: '123456'
  })
});
const data = await response.json();
|
2. 用户登录接口
1
2
3
4
5
6
7
8
9
10
11
12
13
14
15
16
17
18
19
20
21
22
23
24
25
26
27
28
29
30
31
32
33
34
35
36
37
38
39
40
|
{
username: string,
password: string
}
{
message: string,
token: string,
user: {
id: string,
username: string,
createdAt: string
}
}
{
message: string
}
const response = await fetch('https://josznftwiqbd.sealoshzh.site/api/login', {
method: 'POST',
headers: {
'Content-Type': 'application/json'
},
body: JSON.stringify({
username: 'testuser',
password: '123456'
})
});
const data = await response.json();
|
3. 获取用户信息接口
1
2
3
4
5
6
7
8
9
10
11
12
13
14
15
16
17
18
19
20
21
22
23
24
25
26
27
28
29
30
|
id: string
{
_id: string,
username: string,
createdAt: string
}
{
message: string
}
const userId = 'user_id_here';
const response = await fetch(`https://josznftwiqbd.sealoshzh.site/api/user/${userId}`, {
method: 'GET',
headers: {
'Content-Type': 'application/json'
}
});
const data = await response.json();
|
错误处理
所有接口可能返回的通用错误:
1
2
3
4
5
|
{
message: "服务器错误",
error: string
}
|
记录
我们需要做以下几件事:
- 安装必要的依赖(vue-router 和 axios)
- 创建路由配置
- 创建登录和注册页面组件
- 配置 API 请求
1
2
| npm install vue-router@4 axios
mkdir -p src/views src/router src/services
|
创建登录和注册页面
创建路由配置
==》
1
2
3
4
5
6
7
8
9
10
11
12
13
14
15
16
17
18
| 登录页面 (/login):
用户名和密码输入
登录表单验证
错误提示
登录成功后保存 token 和用户信息
跳转到注册页面的链接
==============================
注册页面 (/register):
用户名和密码输入
密码确认
注册表单验证
错误提示
注册成功后跳转到登录页面
==============================
路由功能:
路由守卫保护需要认证的页面
未登录用户自动重定向到登录页面
默认路由重定向到登录页面
|
再解决一下跨域问题后,本地测试注册登录功能正常
基本功能实现后,进行页面和功能的优化。
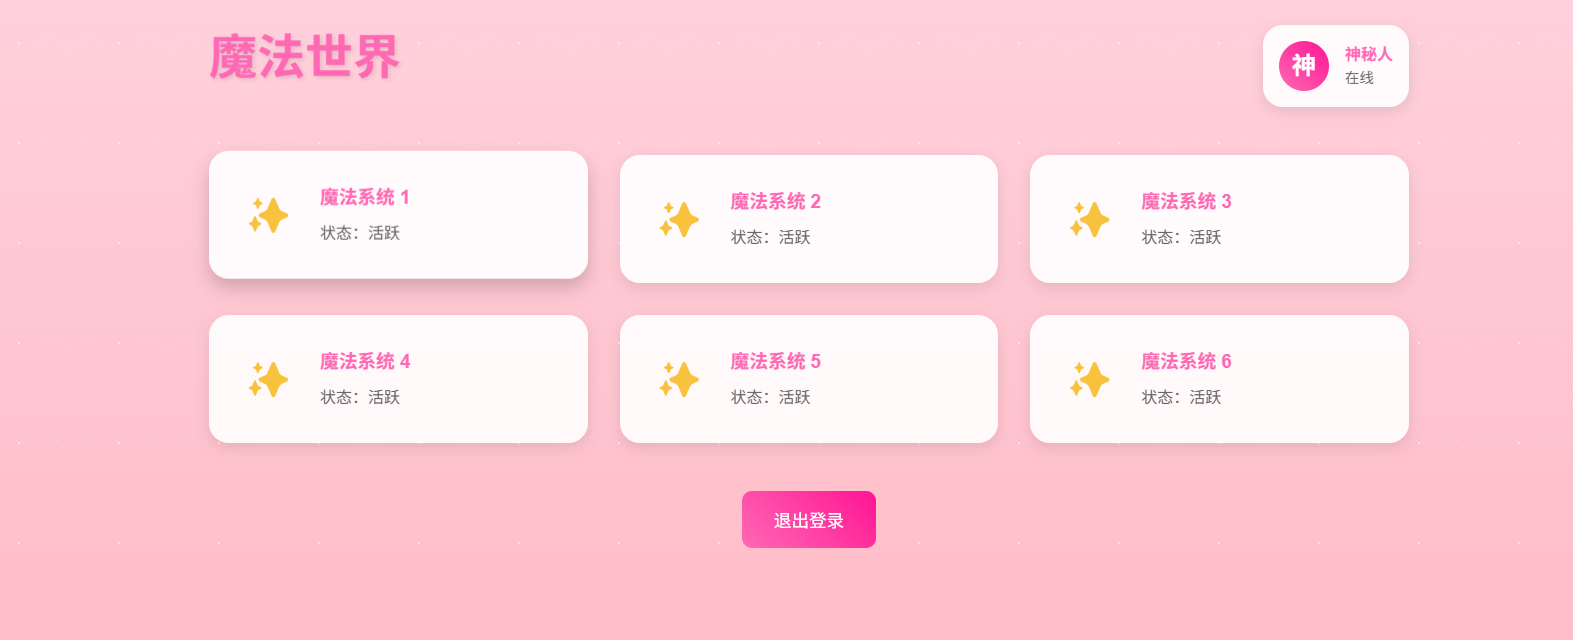
新增默认页面,用户界面,并转换为唯美风格 UI。
简单修改后的效果图


最后再部署上线试试即可。
后记
后面会对这个内容的具体实现过程手敲一边,并且尝试不依赖于云开发平台部署。
这个画面也是有点糖了。后面可以考虑添加登录后的用户功能,比如 Todo list.


